

Introduction: Save a Burned Pot


This technique should restore even badly burned pots and pans. It has twice saved me from throwing out pots and pans I thought were past the point of rescue; hopefully it can help you too.
Step 1: Supplies

You will need:
- White vinegar
- Baking soda
- Bar Keepers Friend (or a similar scouring powder)
- A scouring sponge or metal scouring pad
- A badly burned pot or pan
Step 2: Boil Vinegar


Simply pour enough vinegar into the pot to cover all burned material, bring to a boil, and boil for a minute or two. Turn the heat off and let cool. I believe it is boiling the vinegar that makes the difference in this method and helps remove the really badly burned material.
Step 3: Overnight Baking Soda Soak


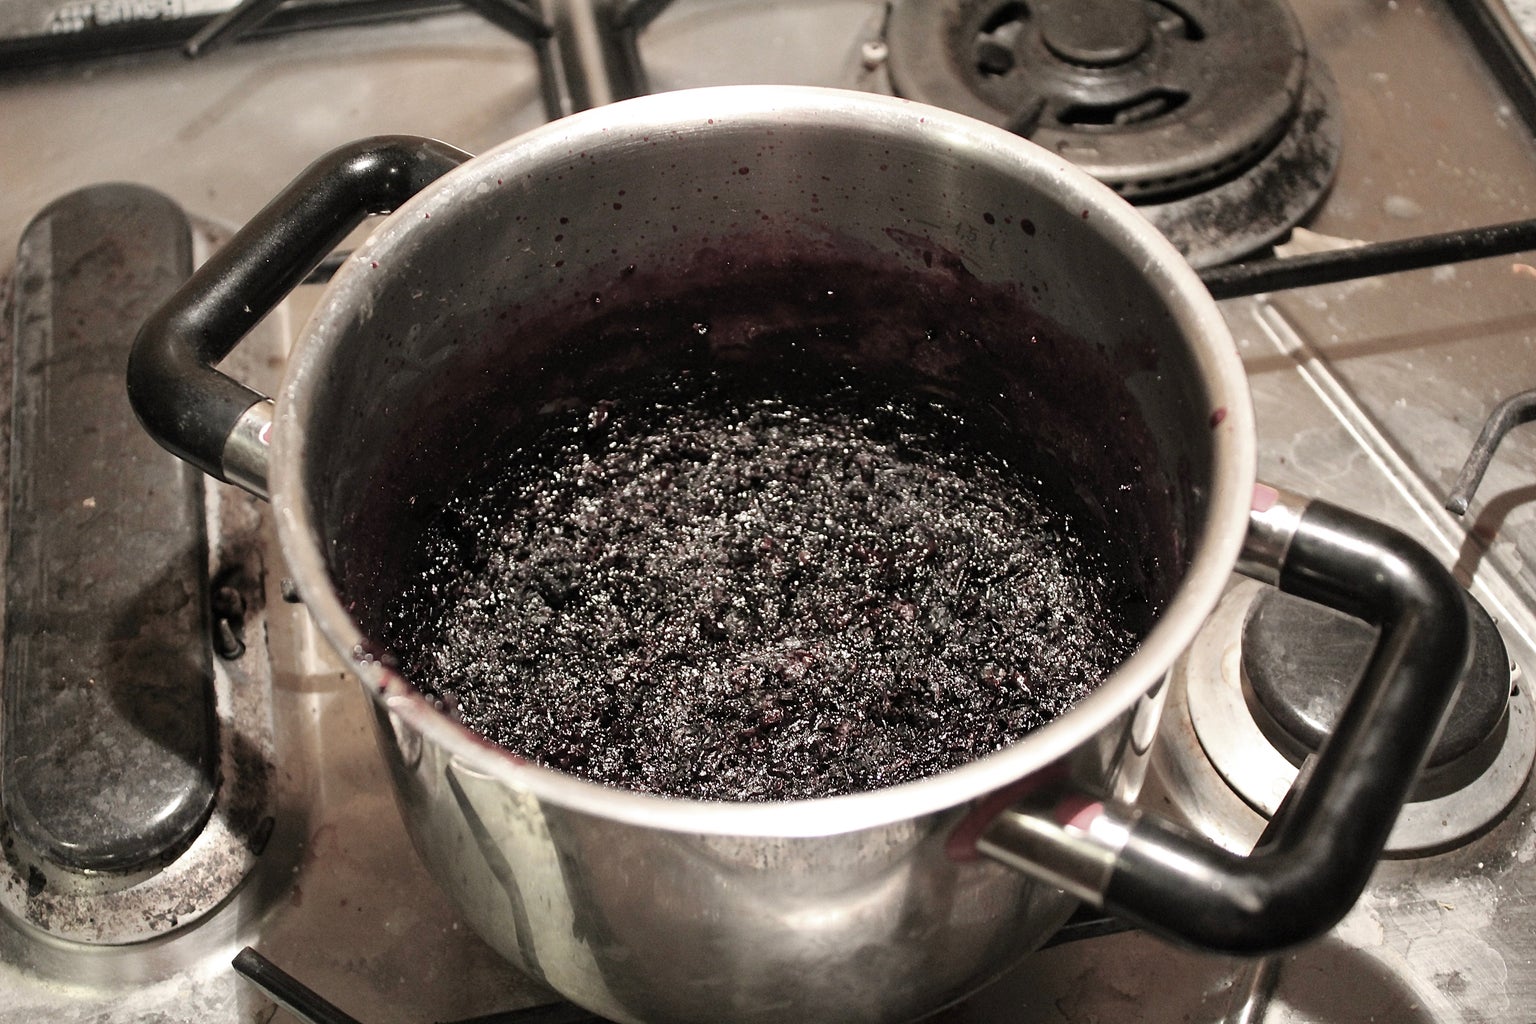
Once the vinegar has cooled somewhat, carefully pour in a few tablespoons of baking soda a little at a time. The chemical reactions between the vinegar and baking soda cause the liquid to foam upwards. If you pour a little baking soda in at a time, you will be fine, but too much and you will get an overflow.
After about 10 minutes, the mixture will have calmed down and look something like the second picture. Let sit in this state overnight or for 8 hours or so.
Step 4: Remove Burned Bits


Once the pot has soaked for a while, manually pry or scrape off any burned bits; I just use my fingers and fingernails. The first picture shows the first few chunks of burned material off, and the second picture shows what I was able to get off before scrubbing.
The goal is to free the bottom surface for scrubbing; you should be scrubbing metal, not burned material, that is why we have to pry the burned food off.
Step 5: Bar Keepers Friend Scrub


Scrub with Bar Keepers Friend or a similar abrasive agent using steel wool or a sponge.
The second picture shows the result after a few minutes of scrubbing; notice there are still a few spots left over.
The third picture shows the result after detail cleaning the tough spots for another minute or two. The pot looks good as new!


