

Introduction: Raw Meat Rice Krispies


With Halloween coming up, now is a great time to gross out your guests with all manner of horrifying hors d'oeuvre. I think the best treats are the ones that are not only truly grotesque, but are also believable.
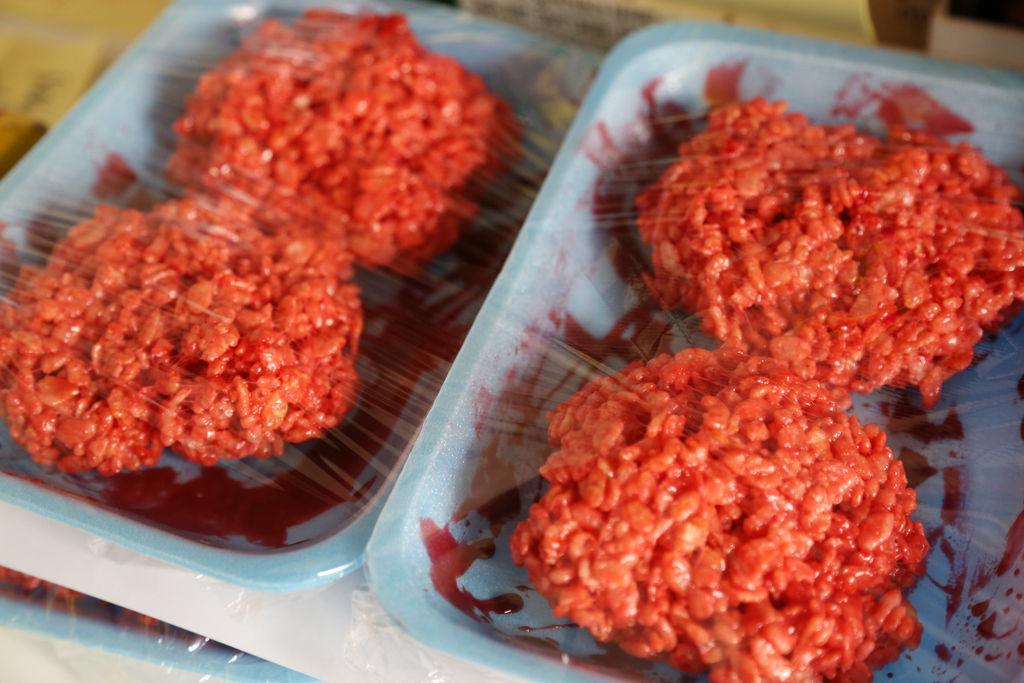
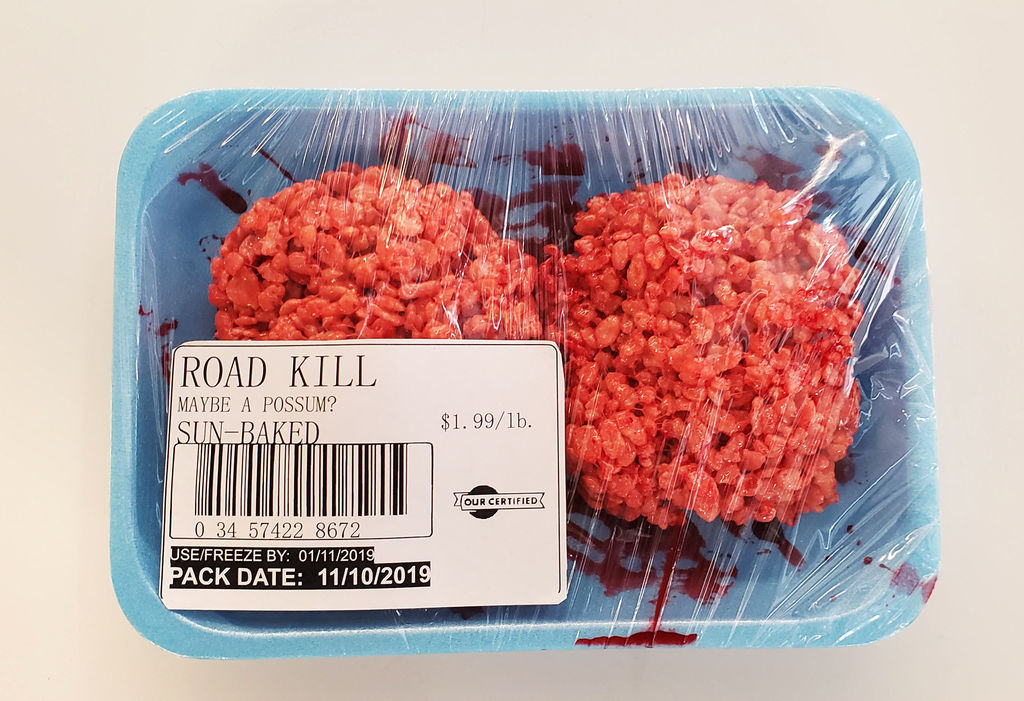
These macabre munchies may look horrifying, but they are actually just Rice Krispie squares with red food coloring. What makes them next level is the faux blood splatter and the butcher shop platter they are served on. Custom made labels are a nice touch to really sell the effect, and maybe plant the seed in the minds of your guests that they might be next!
Follow along and frighten the whole gang with raw meat Rice Krispies.
Ready? Let's scare!
Step 1: Supplies

To make these raw mat patties you will need:
- 6 cups puffed rice cereal
- 16oz. bag marshmallows
- 3 tbsp butter
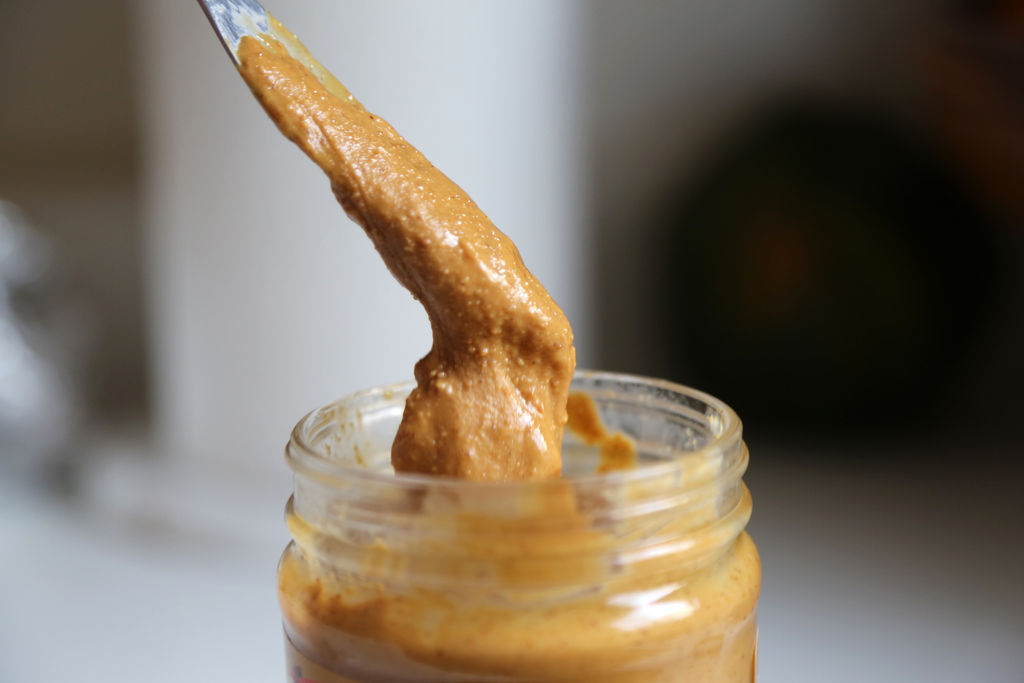
- Dollop of peanut butter (optional)
- Blob of corn syrup
- Red food dye
- Blob of chocolate syrup
- Styrofoam butcher plates
I got my plates from my local grocery store. I just asked nicely :)
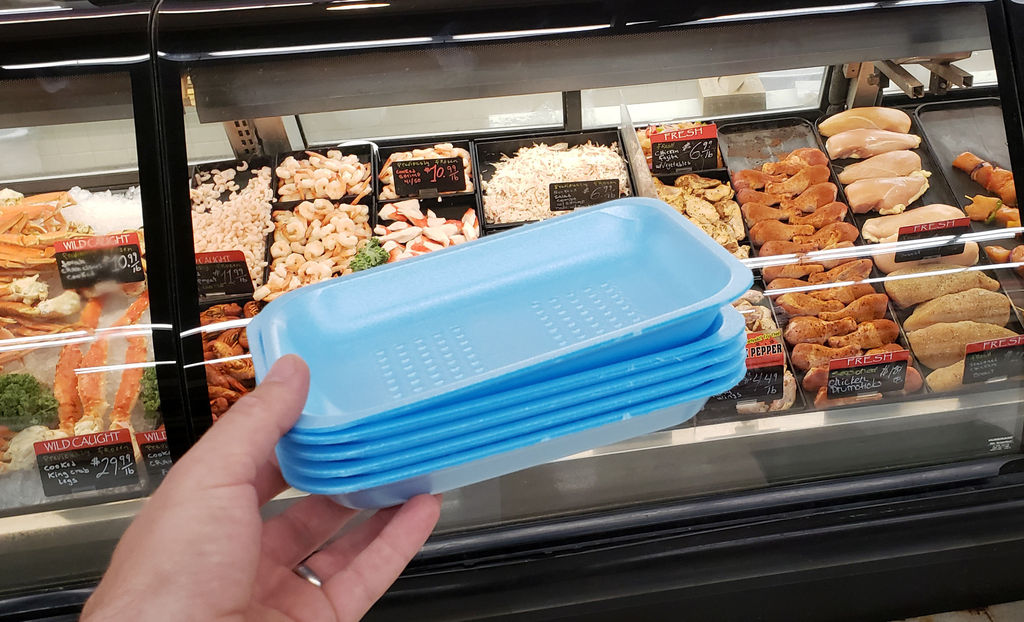
One batch of Rice Krispies squares filled about 4 plates.
Step 2: Make Rice Krispie Treats

On low heat, melt butter and add all the marshmallows. Stir until the marshmallows have completely melted.

I love peanut butter, and added a good sized scoop of smooth PB to the butter and marshmallow mix. Once a consistent mix was achieved I added red food dye until the mix was a deep red.
Once the cereal is added the color of the mix will lighten, so keep that in mind.
When all other ingredients are thoroughly mixed, the puffed rice cereal was poured in and mixed.
Step 3: Pack That Meat

Turn off the stove heat and scoop the "meat" into the butcher plates and form into patties.
This is important to do while the mix is warm and malleable, if you wait to put it into the plates the mix will cool and you won't achieve the raw meat effect.
Gently press the mix into the desired shape and allow to cool for about 10 minutes.
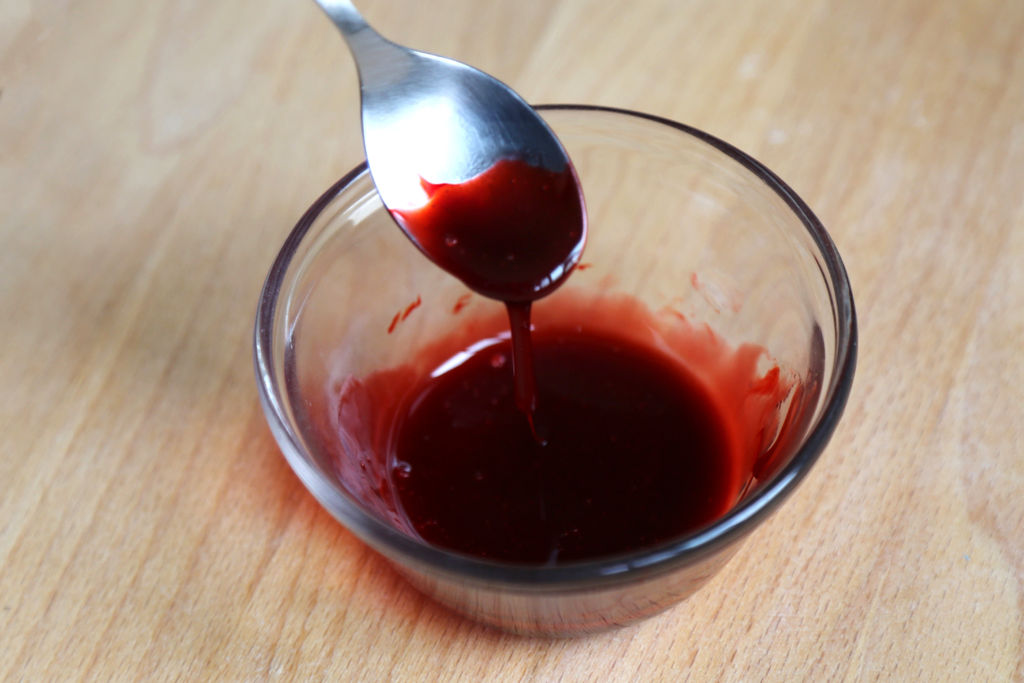
Step 4: Blood Splatter

The next layer to this treat is the blood splatter. I created this effect by combining equal parts chocolate syrup and corn syrup, then adding red food dye.

When mixed, the result should look like deep red blood. Perfect!
Using your hands or a spoon, dribble, drip, smear, and splatter all around the butcher plates to create a bloody mess. Place the formed meat patties on top of the blood.
Step 5: Wrap

Just like at the supermarket, this raw meat will be sealed in cellophane to lock in that freshness and sell the notion that you're a monster who has just made their neighbour into hamburger.
Each butcher plate was wrapped tightly. Don't worry if some blood gets on the cellophane or over the edge of the butcher plates, it adds to the effect!
Step 6: Labels

I made these labels in a word processor in about 10 minutes. Then, they were printed on self adhesive labels I could print at home on my printer.

Be creative with your labels. Since it's for Halloween and scaring is the name of the game, feel free to use your friends, coworkers, and even pets in the labels.
You may use the labels below for your own creation, try right-clicking and "save as"

Step 7: Serve

All that's left is to leave your meat packs out and see who bites.
I had a few, so I brought some into work to just leave out and see who bothers to stop look. The nice thing about this treat is that the packaging is so recognizable that people instant know what it is, and then do a double-take since it's not usual for an office to have raw meat just left out on a counter. This would be equally effective at school, church, or left out on the street!
Upon closer inspection it should be obvious that this doesn't quite look like raw beef, and once the package is opened it's sure to bring a crowd to enjoy the tasty treats.
Happy Halloween! 🎃

Participated in the
Halloween Contest 2019


