

Introduction: Duck Boat Challenge


My school started a STEAM Integration Committee a couple years ago with the purpose of improving STEM education on campus and making STEM a regular part of the education process across content areas.
One thing the team has been able to get done is a yearly school-wide (PreK-12) STEAM challenge, usually a cardboard challenge/something similar to Caine's Arcade, but we never follow the official time line.
This year, due to a variety of reasons, we decided to do a smaller STEAM challenge involving rubber ducks. We wanted students to build a boat that can float AND carry their duck. We originally planned for a second day of redesign and adding additional challenges of making the boats move on their own, etc. but we ran out of time.
The point of the doing school-wide STEAM challenges is to get students and adults across campus working together,
Below are a list of suggested supplies, you can use some, all, or none.
Supplies
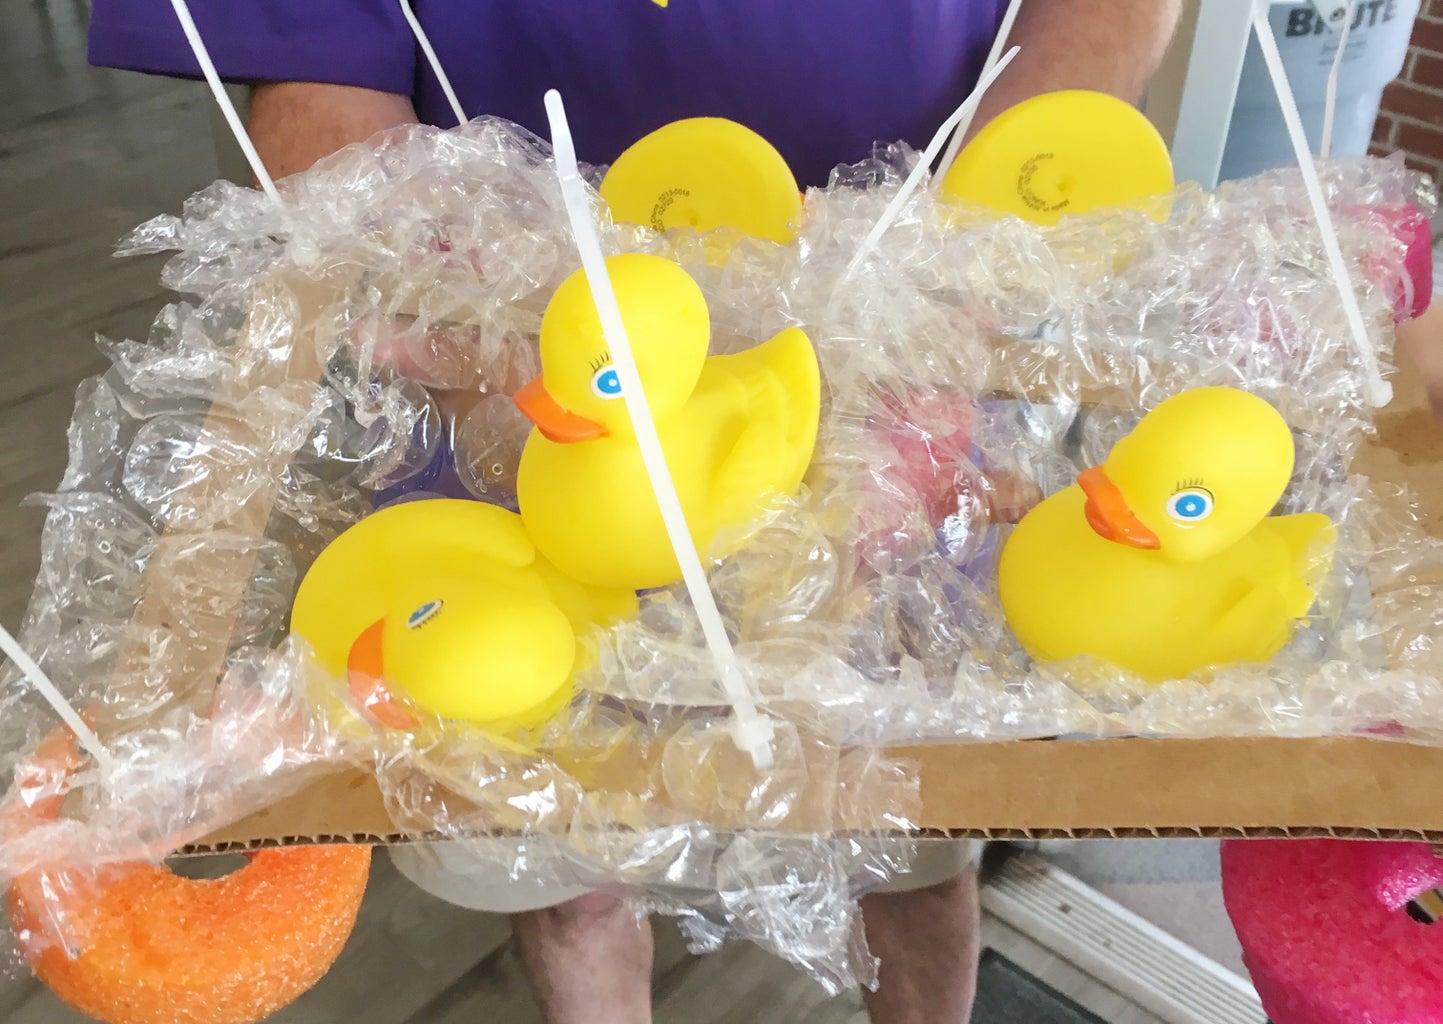
Rubber duckies (either 1 per team or 1 per kid)
Cardboard, Popsicle sticks, egg cartons (plastic, foam, and/or regular)
Recyclables/floatable materials (bags, straws, plastic, bottles, styrofoam, bubble wrap Tyvek, etc.)
Tin foil, wax paper, etc.
Tape (different kinds)
Pipe cleaners, sponges
Glue *optional
Balloons
LEGOs *optional
Cutting tools
Kiddie pools
Water/hose
Step 1: The Challenge
The main challenge was to build a boat that floats and could float while holding the rubber duck. Once boats were built and floating, the teams were to attach them and see if they could get all of their boats (while attached) floating and floating with the ducks on them.
Step 2: Materials


The majority of supplies came from sending a school-wide email asking for specific materials that hopefully people had to get rid of, it worked out very well.
The ducks we bought at wholesale. They were probably the one thing we actually spent money on for this activity.
Who got what materials differed based on age/grade and they were all limited to the materials in their bags. The youngest students got the easiest materials to work with and then materials became increasingly hard.
For the middle and high school students we made mystery bags. Groups with mystery bags had to use at least 3 of the items in the bag.
Step 3: Advertising

Prior to the day of the challenge we posted flyers around campus and made a couple short videos that went out over the schools' video messaging system. We would normally get this info out a month or so in advance, but this year it wasn't possible.
Flyers/videos included information about the 5 W's of the challenge, and rules/expectations (including that students were responsible for cleaning up their work area when the challenge was over.)
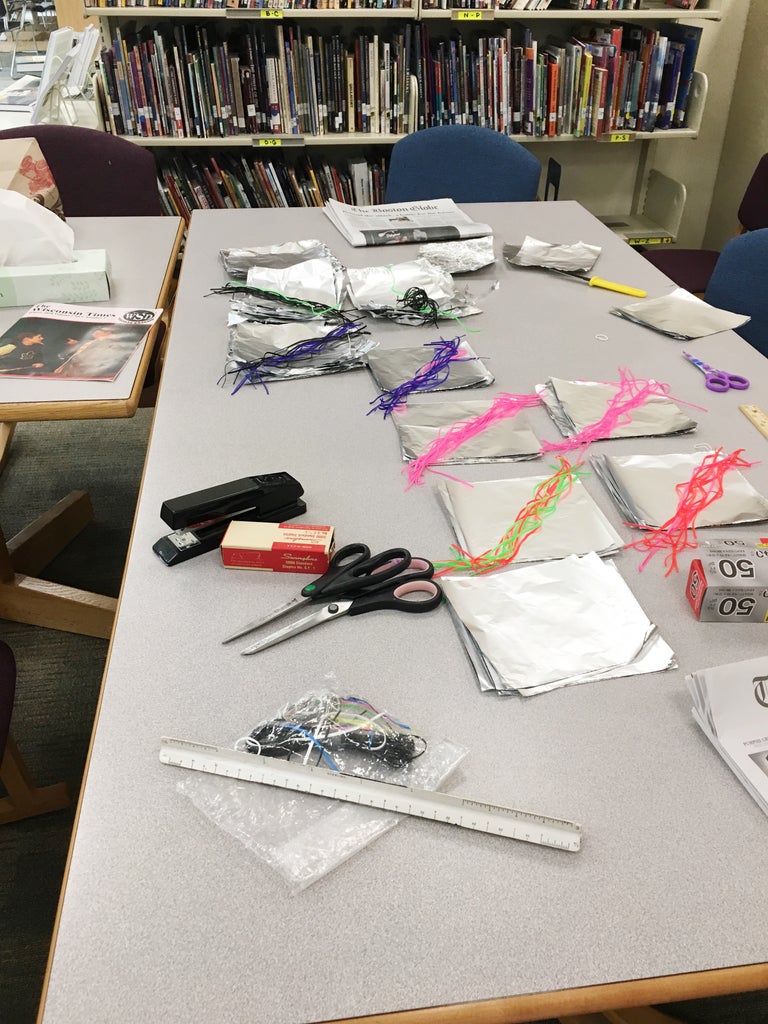
Step 4: Mystery Bags


One of the teachers really worked hard getting the mystery bags organized. She typed up lists of what materials would be in each bag for each group of students and then the rest of us stopped by as we could to set the bags up.
We asked the students to save whatever materials they didn't use, anything still good could be recycled/reused for a later challenge.
Step 5: Testing


We had 4 kiddie pools set up. Each pool had a cardboard "wind power" strip for making the boats move with wind, others had scales for weighing the boats etc.
Kids tested their boats and then based on whether it floated, sank, or partially sank, they went back inside to make changes.
Step 6: Boats in Action


We did this activity with students in PreK-12th grade, all at the same time. This was a great activity for a large group of students (and adults) and they all seemed to enjoy it quite a bit.
Second Prize in the
DIY Summer Camp Contest


